

Pre-Hair Dye Must-Read: 3 Small Steps to Make Your Hair Dye Results Twice as Effective
A perfect hair color begins with careful preparation before dyeing. Vaaig has prepared this thoughtful guide to ensure your at-home hair dye experience is more exceptional and worry-free.
Can’t wait to open that newly purchased hair dye and instantly achieve the hair color of your dreams? Please hold on for a moment! The success of a hair dye job actually begins long before you open the dye tube.
Those who truly understand hair care know that preparation is just as important as aftercare. Taking care of the following three key small steps will not only greatly enhance your dye results but also make the entire process twice as smooth.
Step 1: The Crucial 48-Hour Allergy Test (The Patch Test)
This might be the most easily overlooked step, but it is absolutely the most important one. Whether you’ve had allergic reactions before or not, this test is mandatory every time you dye your hair.
Why?
Our bodies and product formulations can change. Conducting a test ensures complete safety and is a responsibility to your own health.
How to do it?
-
Take a small amount of the Vaaig hair dye (just a small drop each of the pre-mixed Agent A and Agent B) and apply it to the delicate skin behind your ear or on the inside of your arm.
-
Wait for 48 hours without washing the area.
-
Closely observe the application site for any allergic reactions such as redness, swelling, stinging, itching, or rashes.
Vaaig Thoughtful Tip: Even with gentle formulas like Vaaig’s, enriched with natural soothing ingredients (such as Aloe and Chamomile), we always insist that you perform an allergy test. Because true thoughtfulness means putting your safety first.
Step 2: Creating the Perfect Canvas – “Dirty Hair” is the Best Canvas
Contrary to what you might think, it’s best not to wash your hair the day before dyeing.
Why?
The natural oils secreted by your scalp are the best natural protective barrier. These oils can:
-
Protect the scalp: Reduce potential irritation from the hair dye.
-
Ensure even color: Clean hair has open cuticles that may absorb color excessively, while slightly oily hair helps pigment adhere more evenly and steadily.
How to do it?
-
Wash your hair 1-2 days before your planned dyeing session and keep it dry afterward.
-
Avoid using heavy conditioners or hair masks, as they can create a barrier that hinders color penetration.
Vaaig Thoughtful Tip: Our dye formula contains cottonseed oil, which acts like a "cushion" during the process to reduce friction, working in synergy with your scalp’s natural oils to protect your scalp health.
Step 3: Precise Amount and Tool Preparation – Say Goodbye to Patchiness and Waste
A successful dye job relies on sufficient product and the right tools.
Why?
Insufficient product can lead to uneven color, poor saturation, and awkward patchy results. Professional tools ensure the dye evenly covers every strand.
How to do it?
-
Estimate the amount: Generally, shoulder-length hair requires 1 box of dye, while waist-length long hair may need 2–3 boxes. Better to have too much than too little!
-
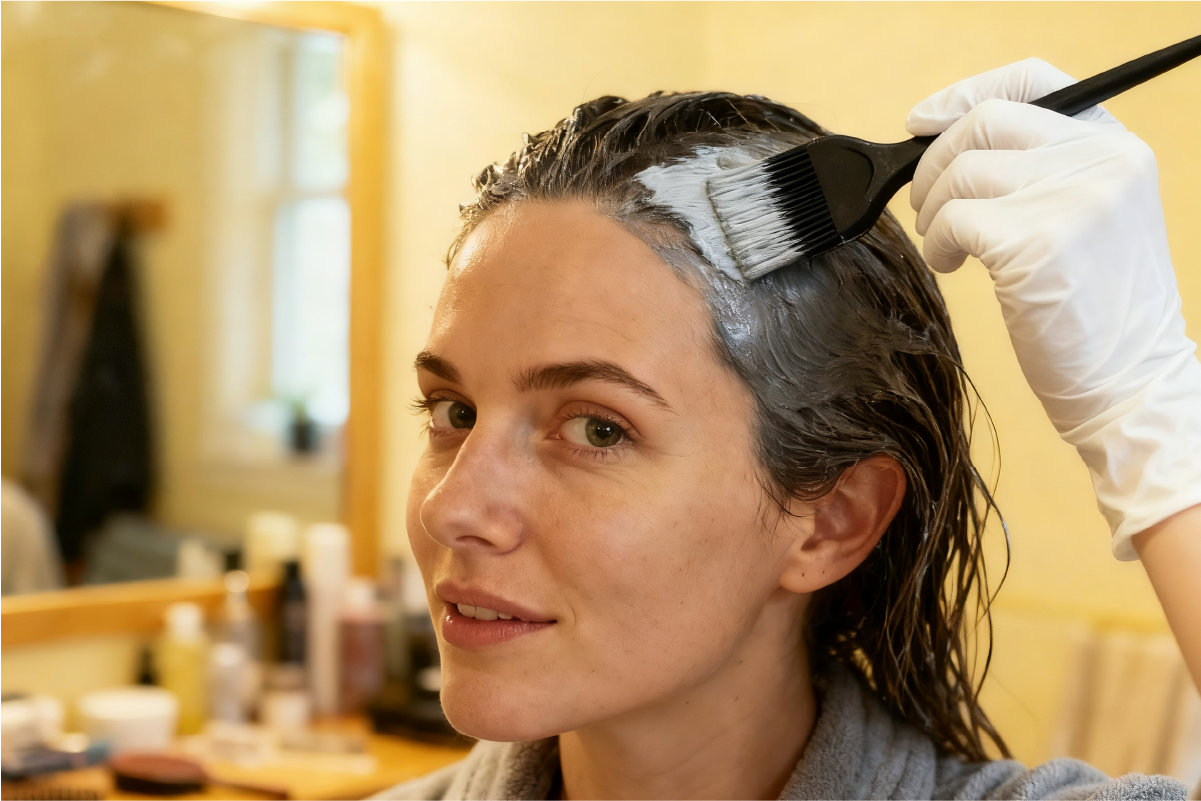
Prepare tools: Have an old towel, hair clips (for sectioning), a wide-tooth comb, and a dedicated applicator brush (or dye bowl and brush). Rubbing with your hands makes it hard to achieve even coverage, while a small brush helps you precisely reach every root and gap.
-
Perform the allergy test: Yes, we emphasize it again! This is the foundation of successful dyeing.
Vaaig Thoughtful Tip: Vaaig hair dye is specially infused with macadamia seed oil, providing an ultra "Silky Slip" texture that makes the dye very easy to apply and comb through. This greatly reduces the difficulty of self-application and allows you to achieve salon-like, even color results even at home.
Conclusion: Perfect Hair Color, Starts with Vaaig
By following these three small steps, you’ve laid the perfect foundation for a successful dye experience. They may seem simple, but they combine safety, science, and skill.
Now, you can confidently begin your hair dye journey. When you choose Vaaig, you’re not just choosing a tube of color – you’re choosing care infused with 12 botanical extracts. From the deep nourishment of shea butter to the antioxidant protection of tea leaf extract, we’ve considered far more for you than just color.
Bid farewell to damage concerns and embrace a luxurious color-care dye experience. We look forward to seeing your dazzling new hair color!
Friendly reminder: Be sure to read the detailed instructions in the Vaaig product packaging. If you have any specific scalp conditions or health concerns, it is recommended to consult a professional doctor before dyeing.


